How to create and manage tasks
Updated
Overview
Tasks keep a next step on every lead, with a type, a due time and an optional note. This guide shows you how to create a task, view tasks on the calendar, mark them complete and find them on the lead's profile.
Video walkthrough
Steps
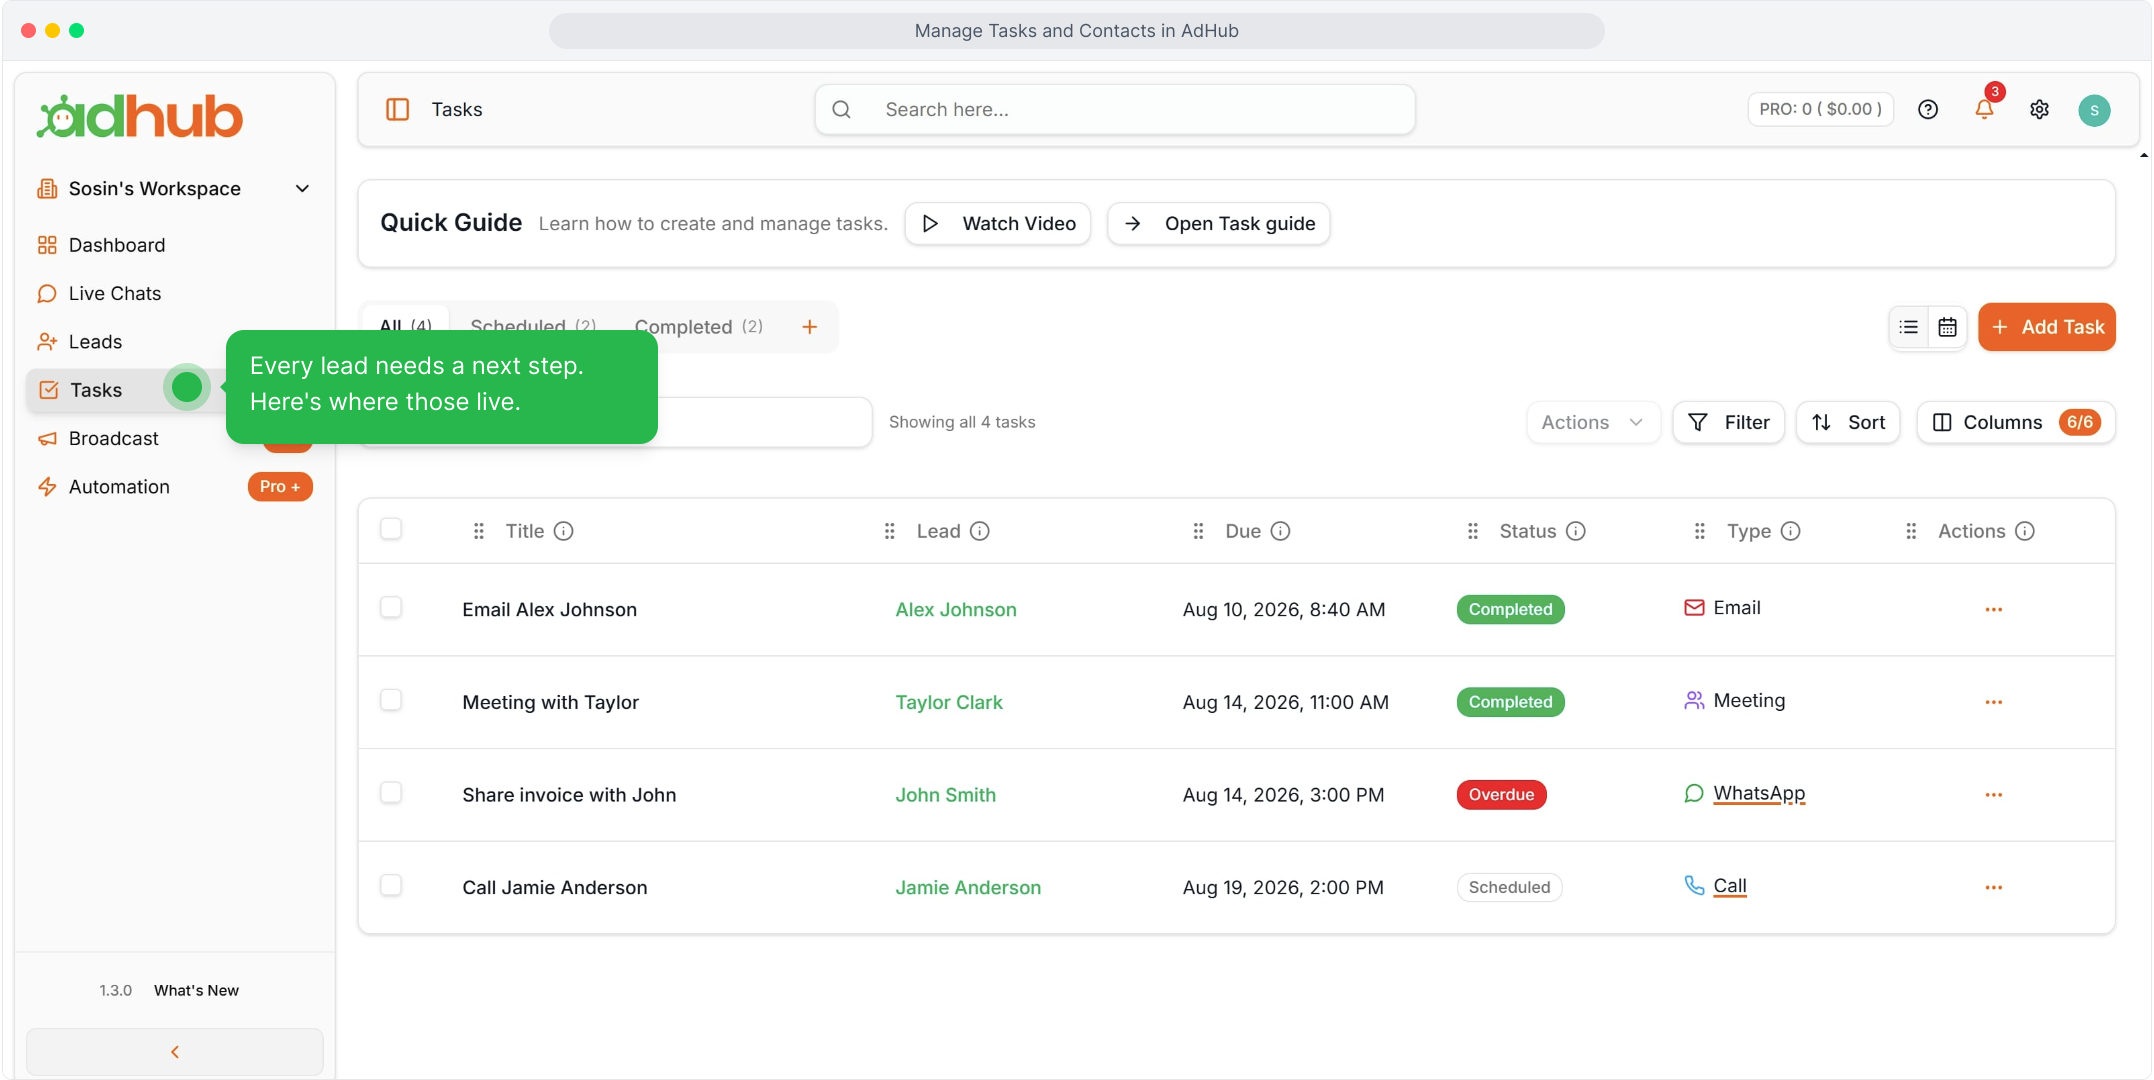
Step 1 — Open Tasks
Click Tasks in the sidebar, under Leads.
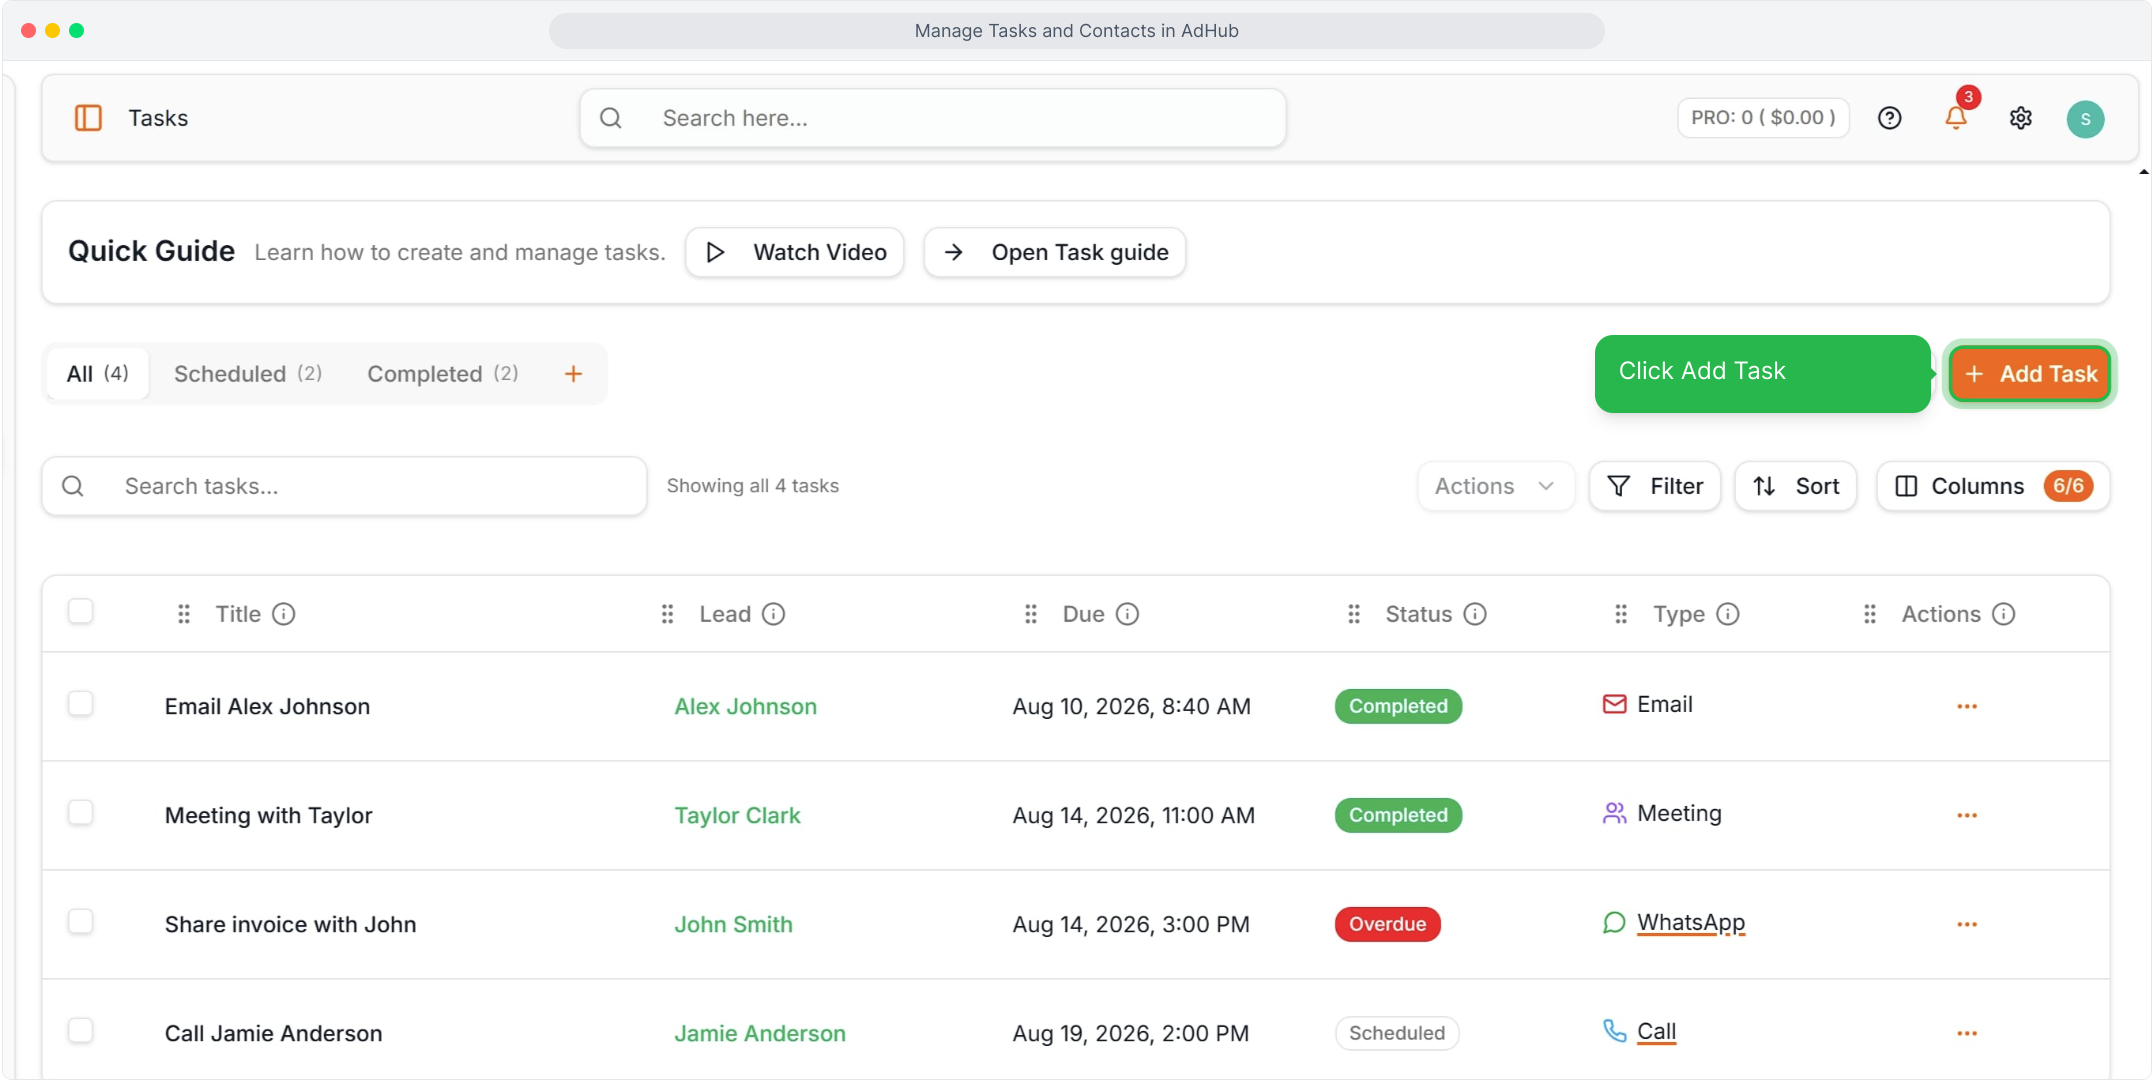
Step 2 — Click Add Task
Click the + Add Task button.
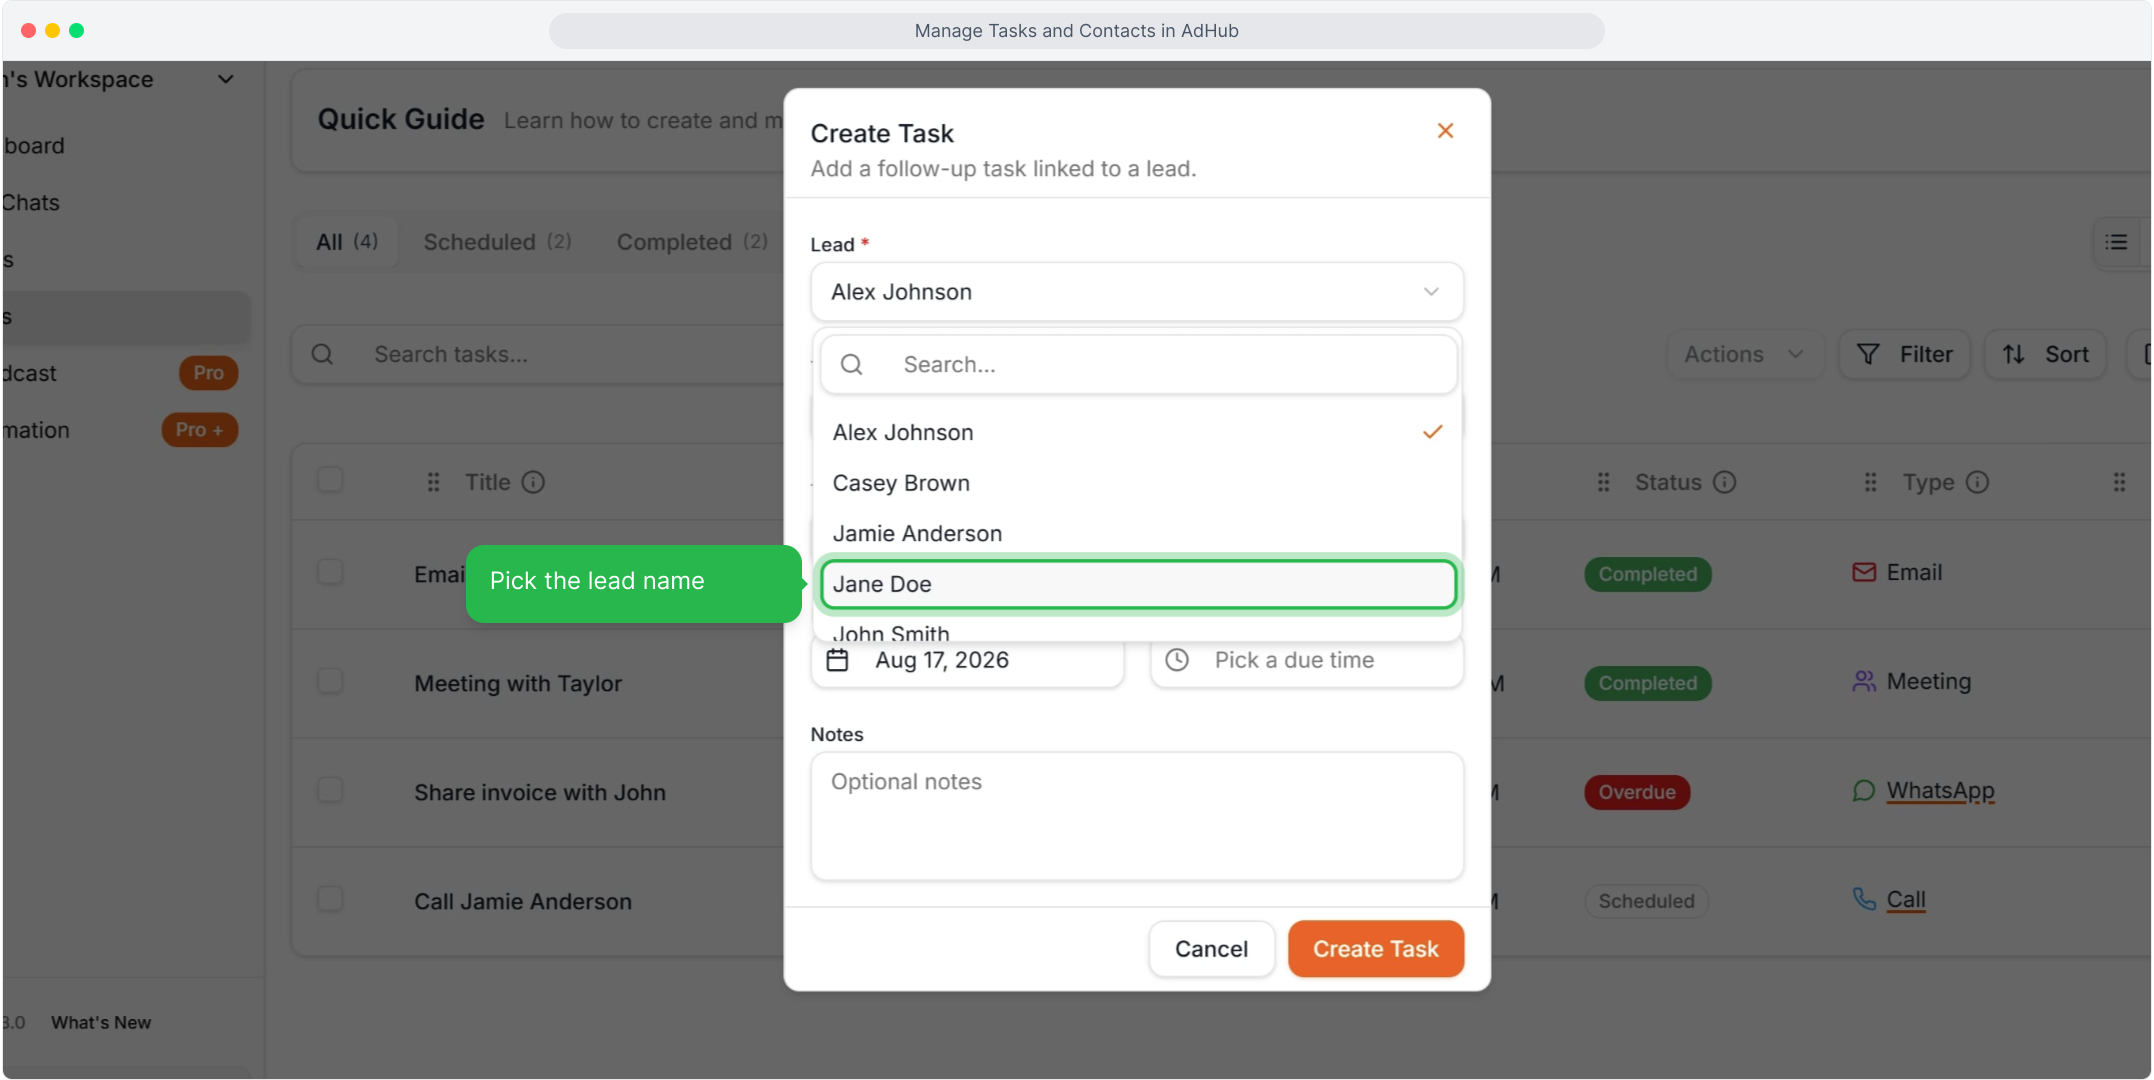
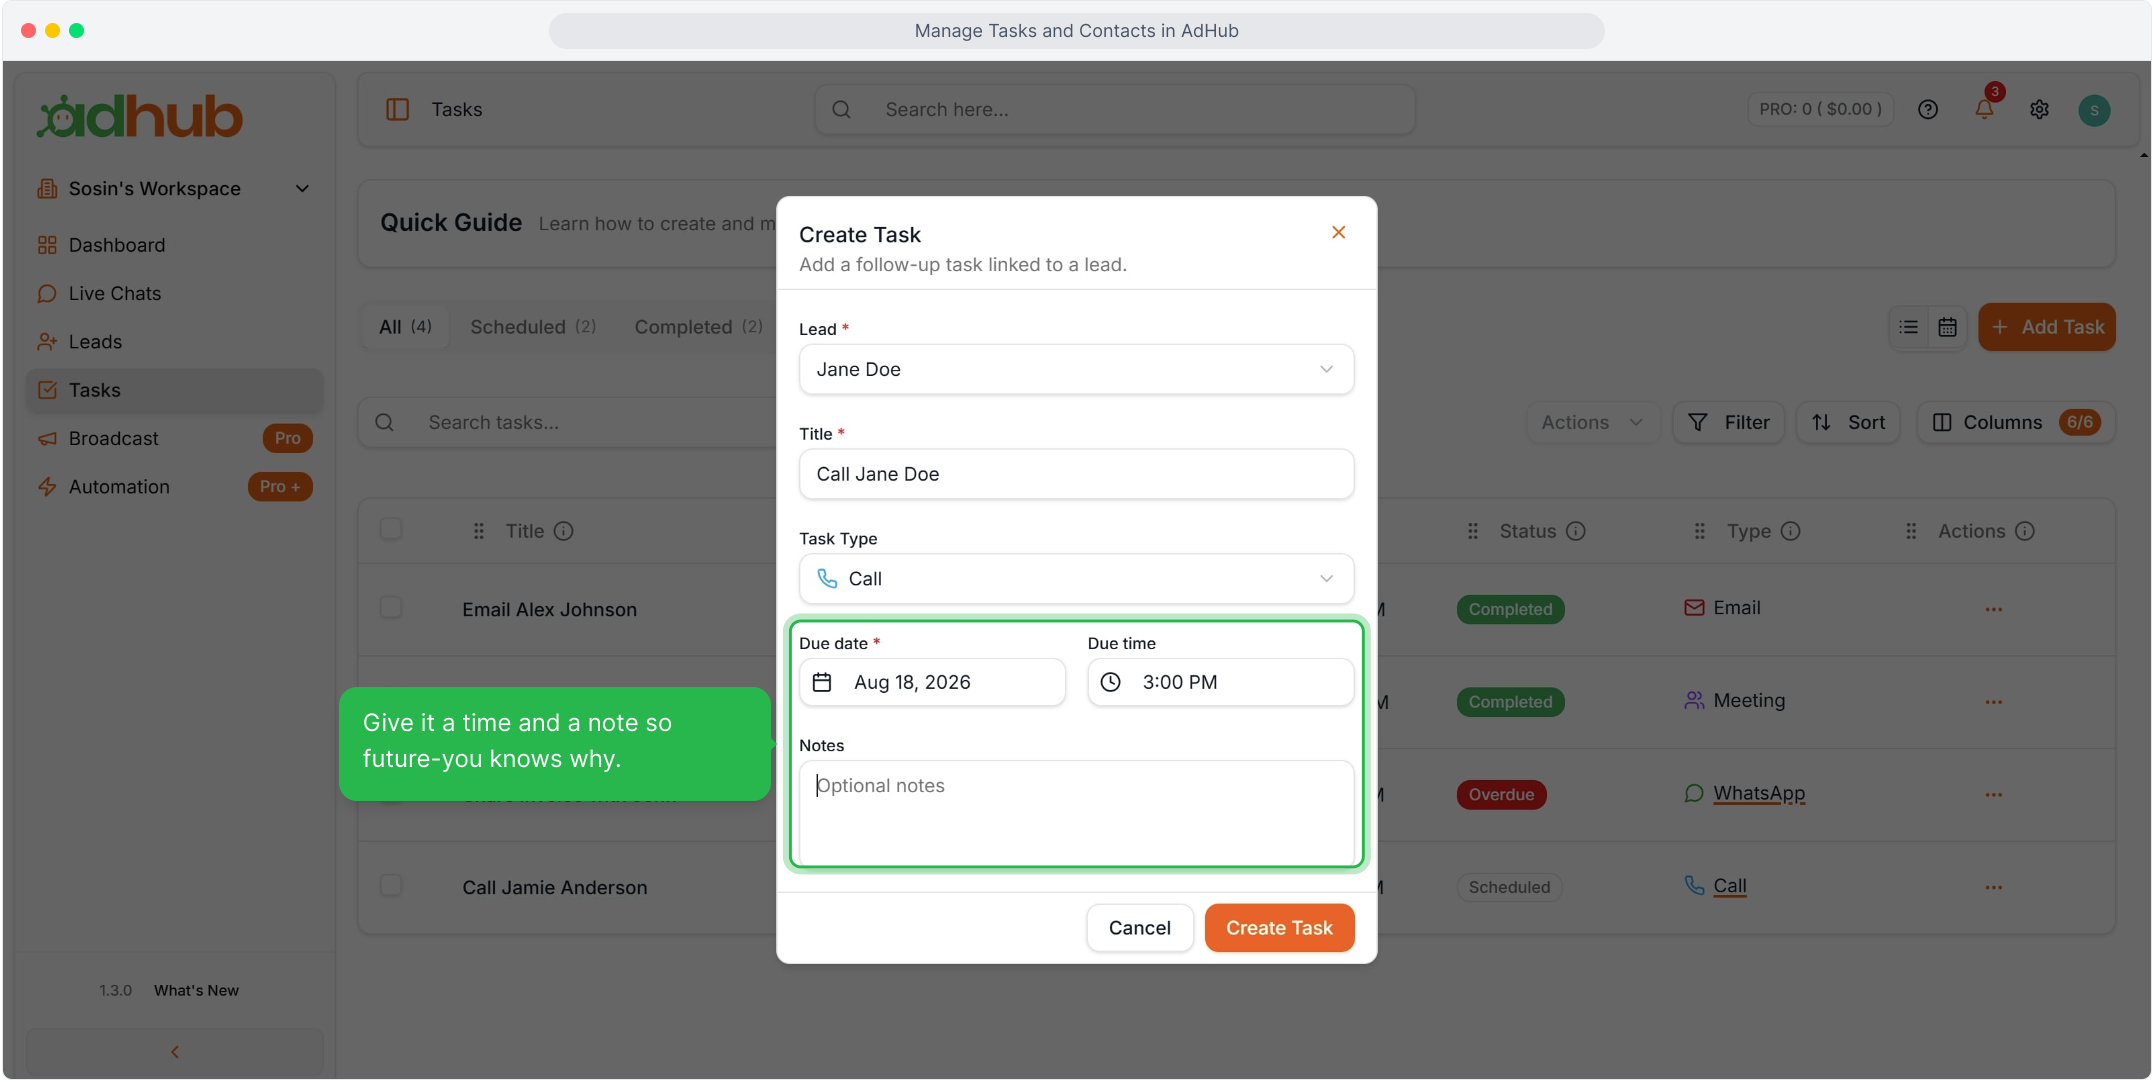
Step 3 — Link a lead
In the Create Task dialog, select the lead this task belongs to in the Lead field.
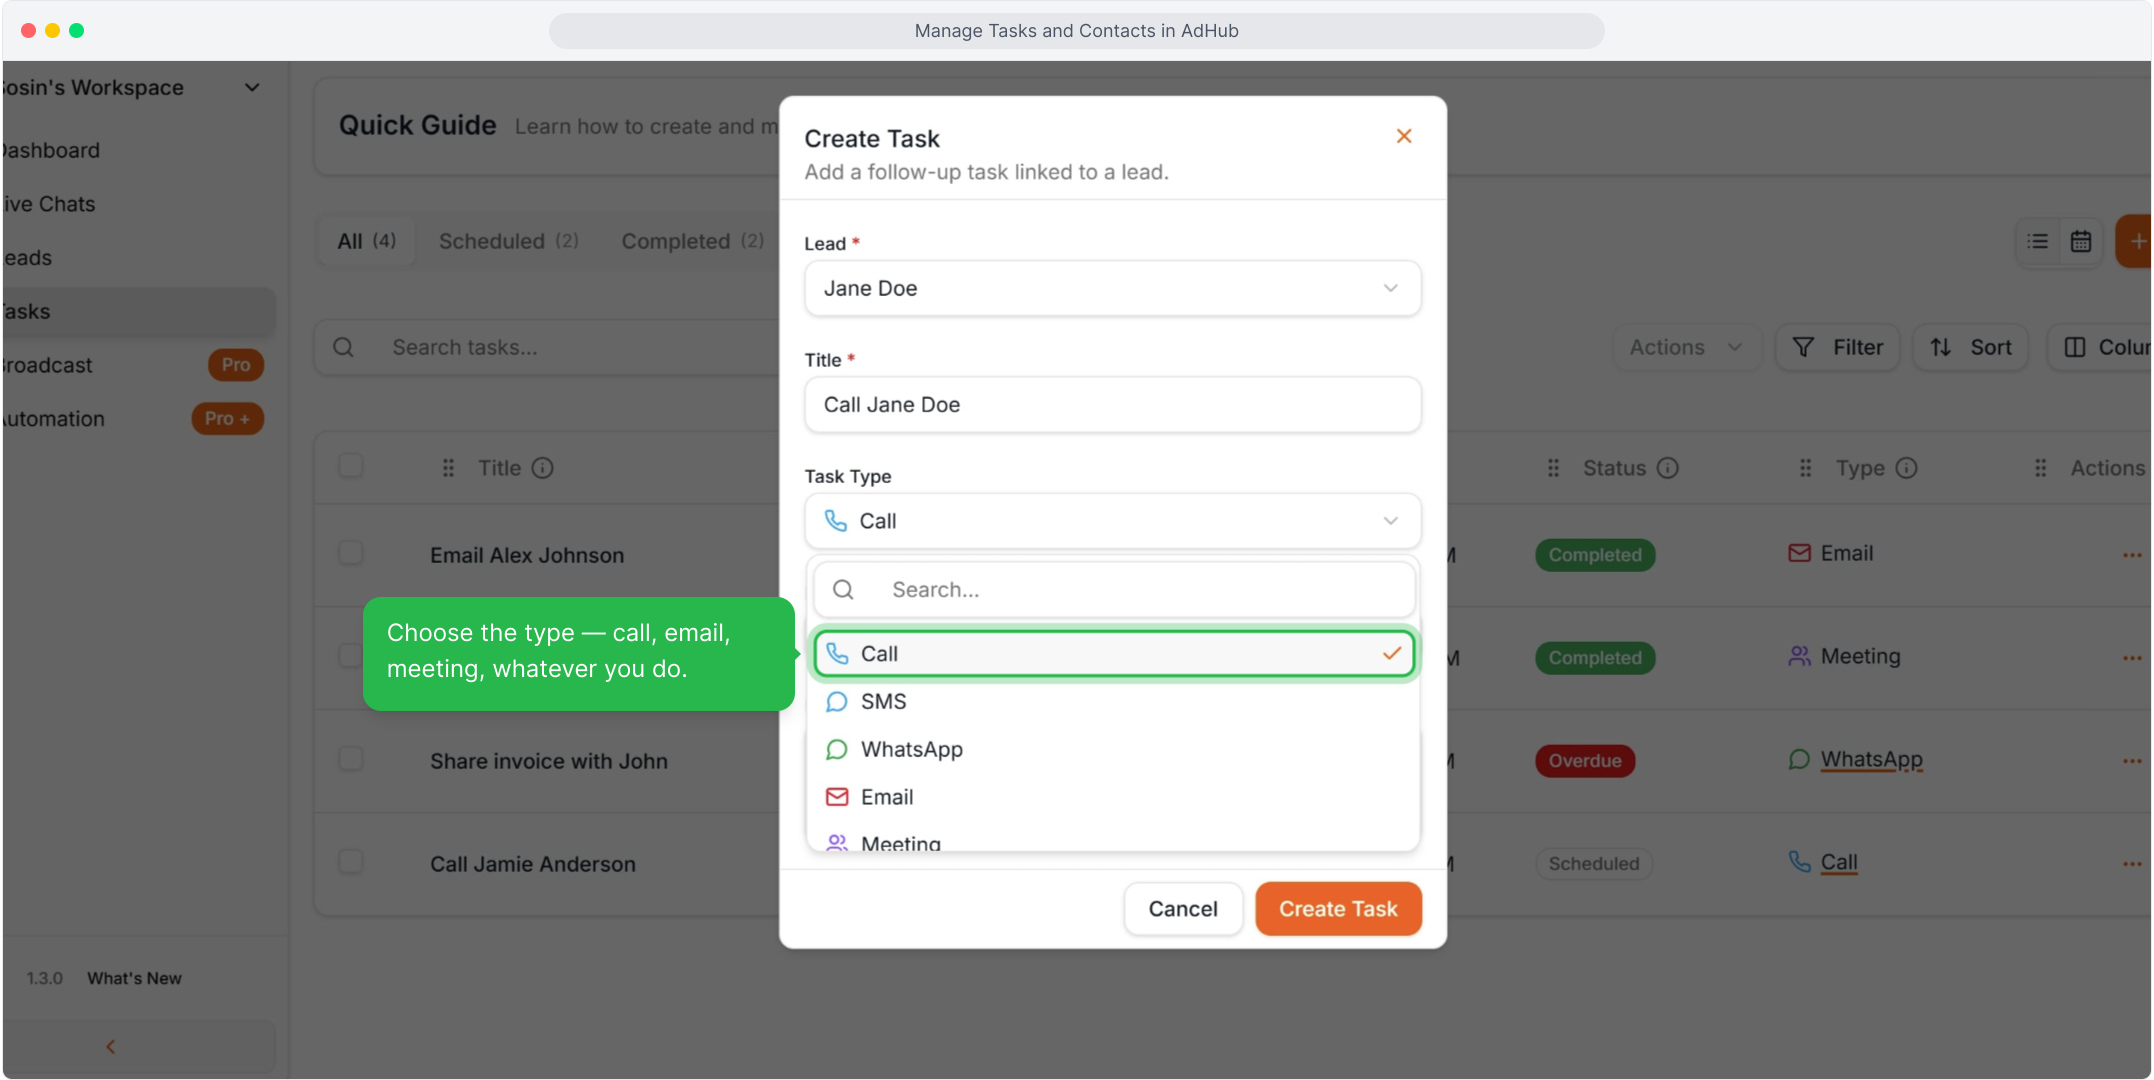
Step 4 — Enter a title and choose a type
Type a title, then choose a type: Call, SMS, WhatsApp, Email or Meeting.
Step 5 — Set the due time and note
Add a due date and time, and an optional note that explains the task.
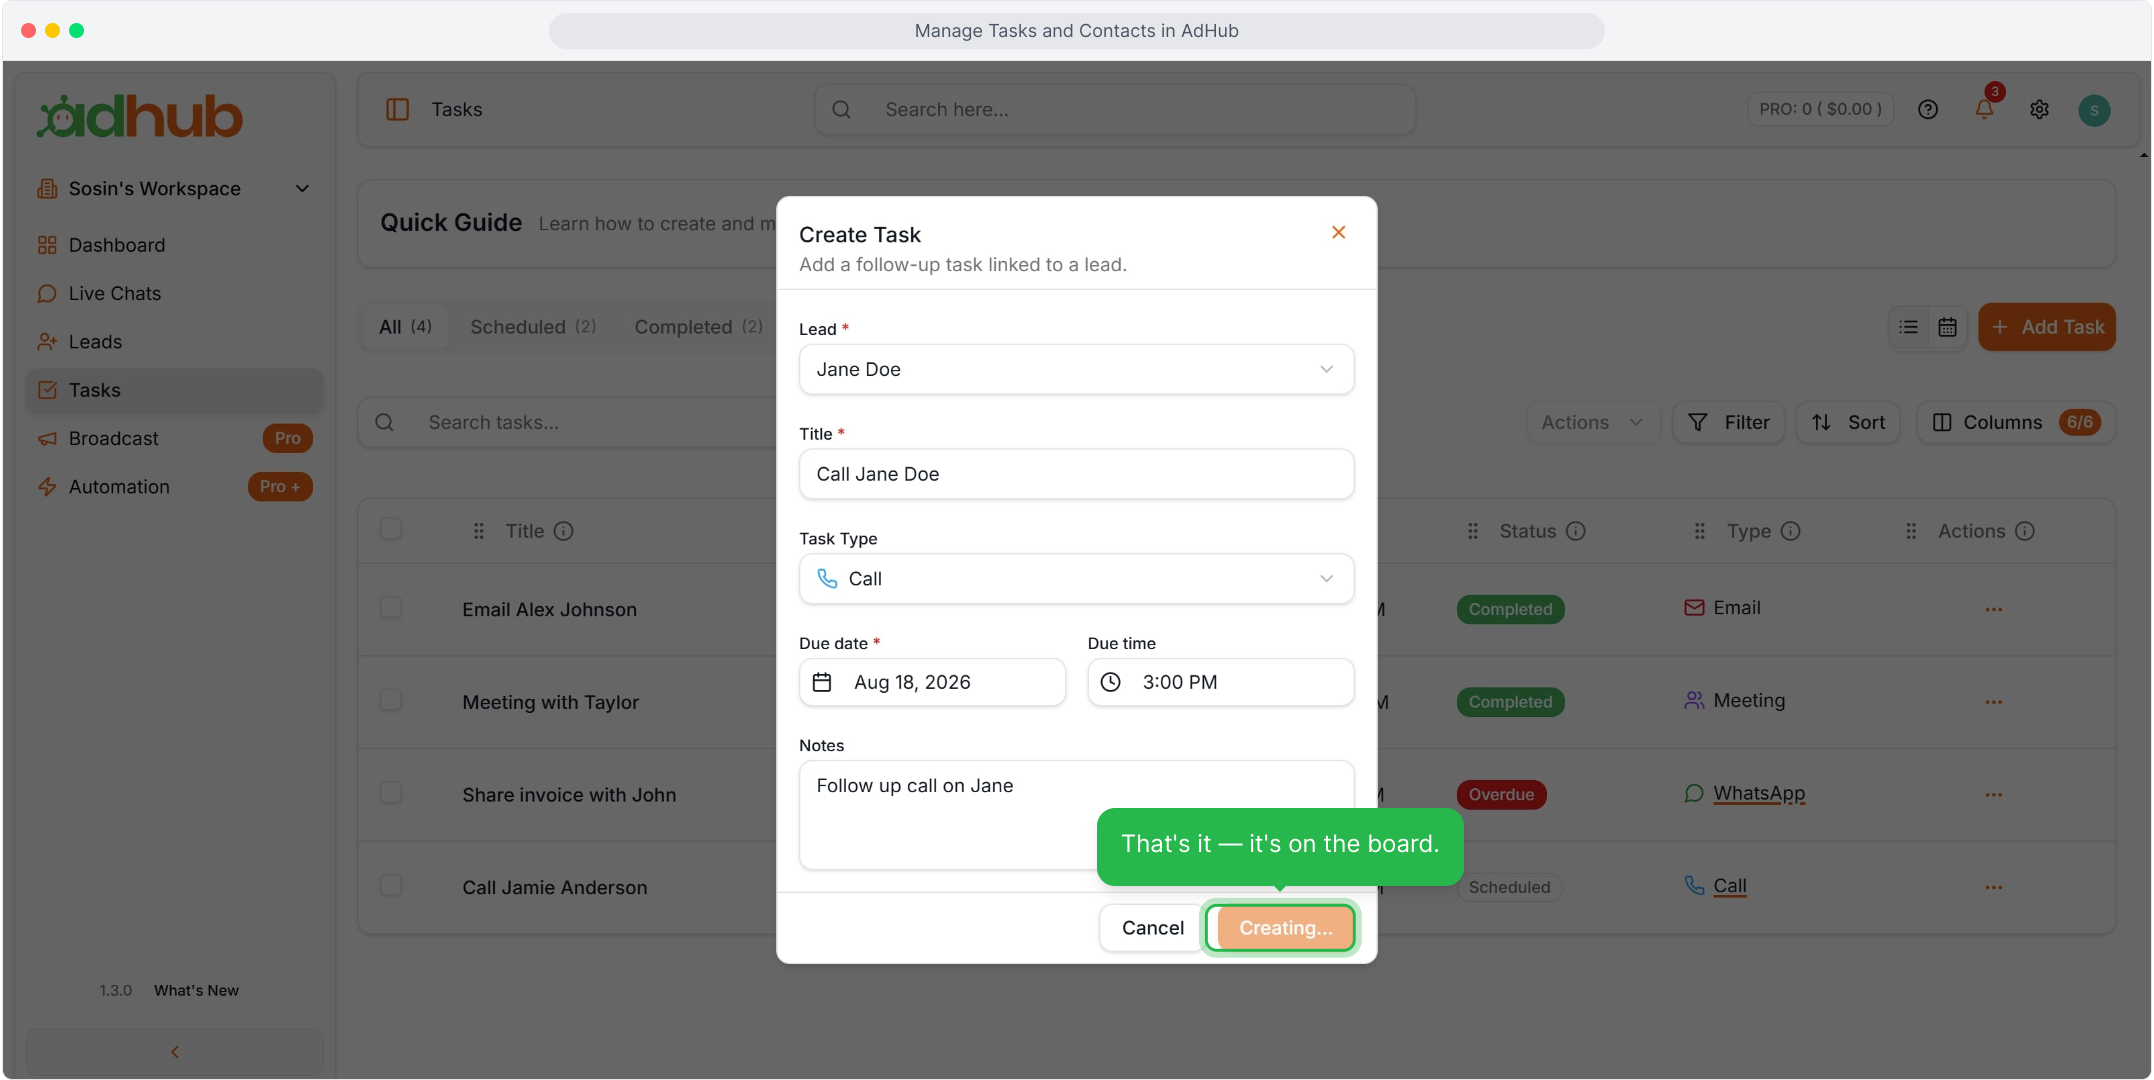
Step 6 — Create the task
Click Create Task. The new task appears in the list.
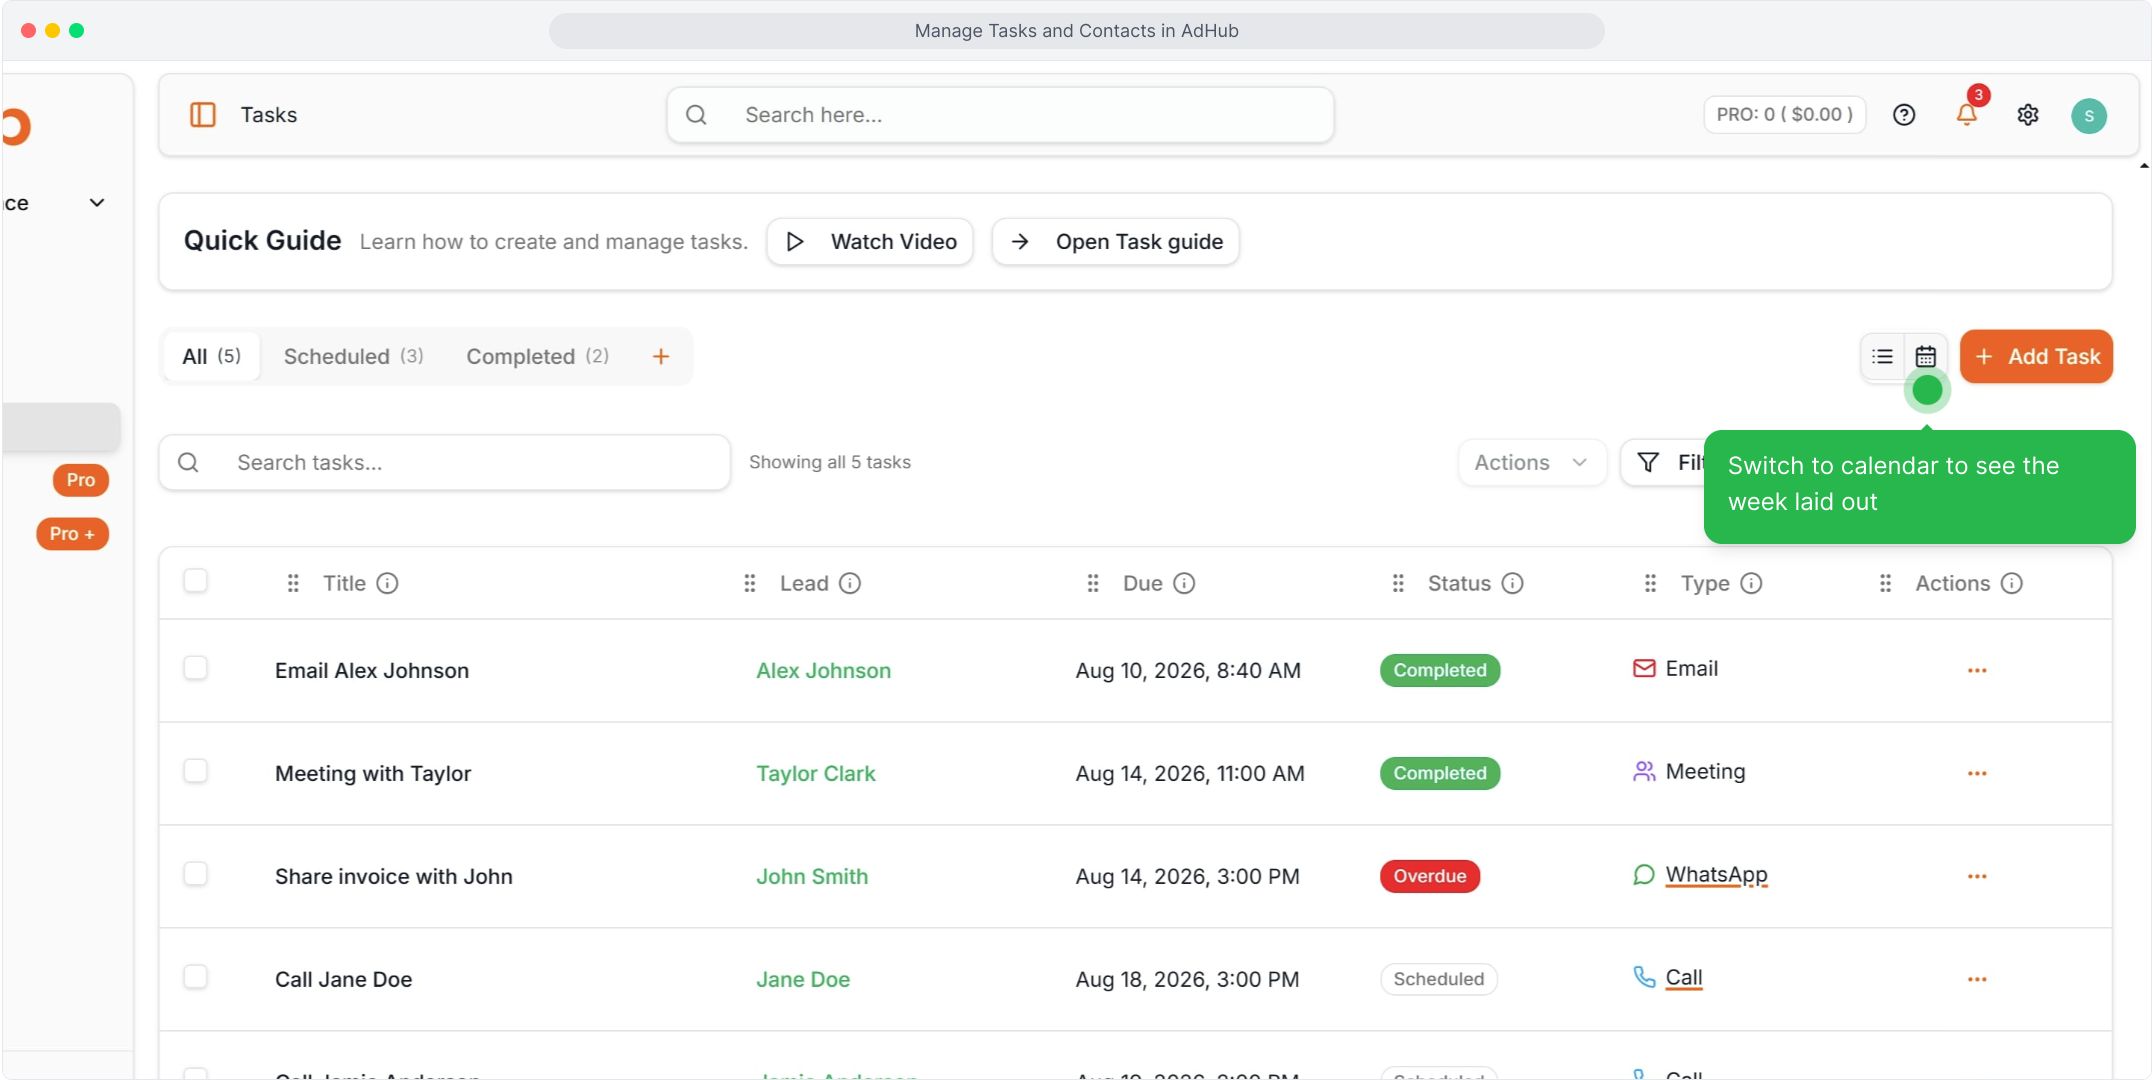
Step 7 — Switch to the calendar view
Click the calendar toggle on the Tasks toolbar to see tasks by due date.
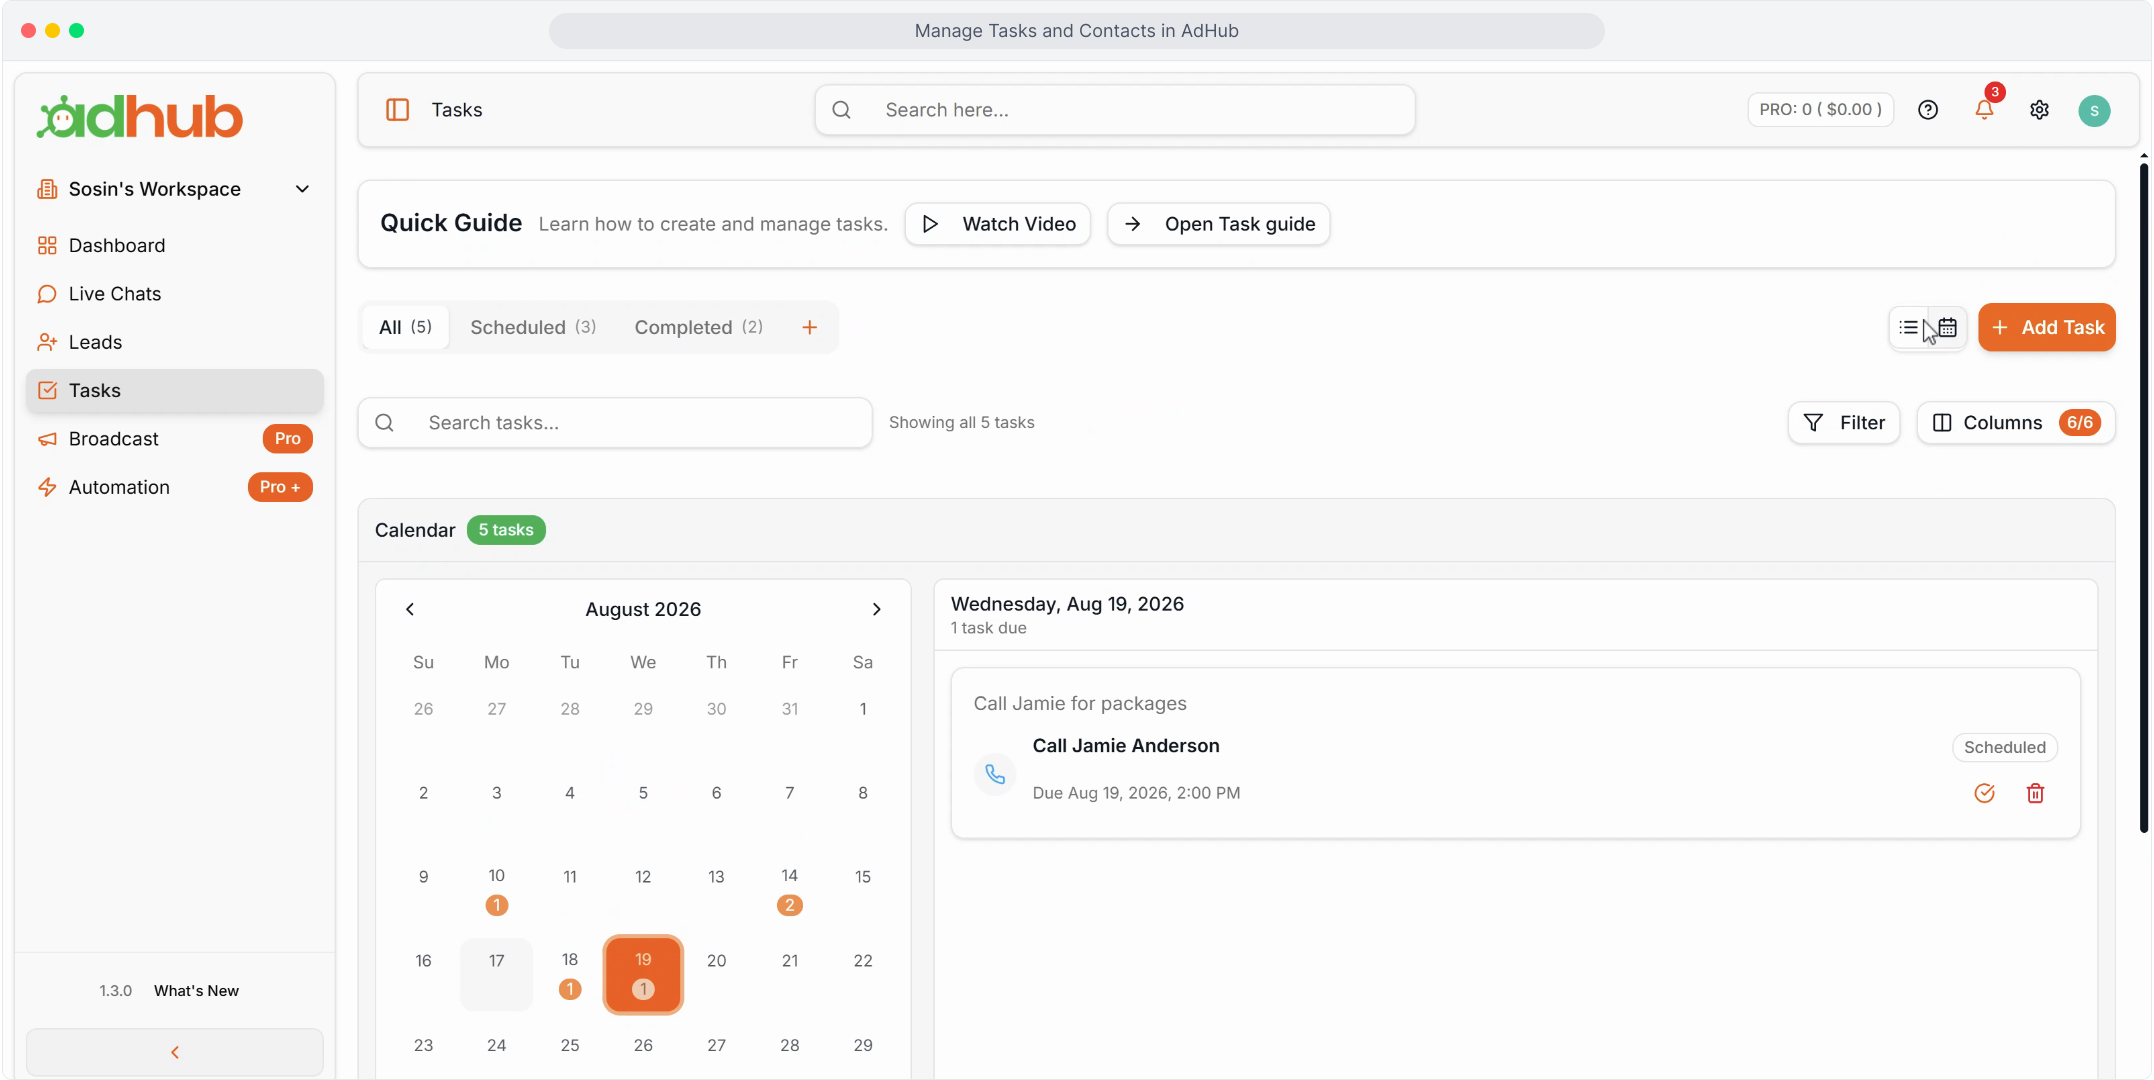
Step 8 — Review the calendar
The calendar shows each task on its due date.
Step 9 — Filter scheduled work
Open the Scheduled tab to see tasks that are still due.
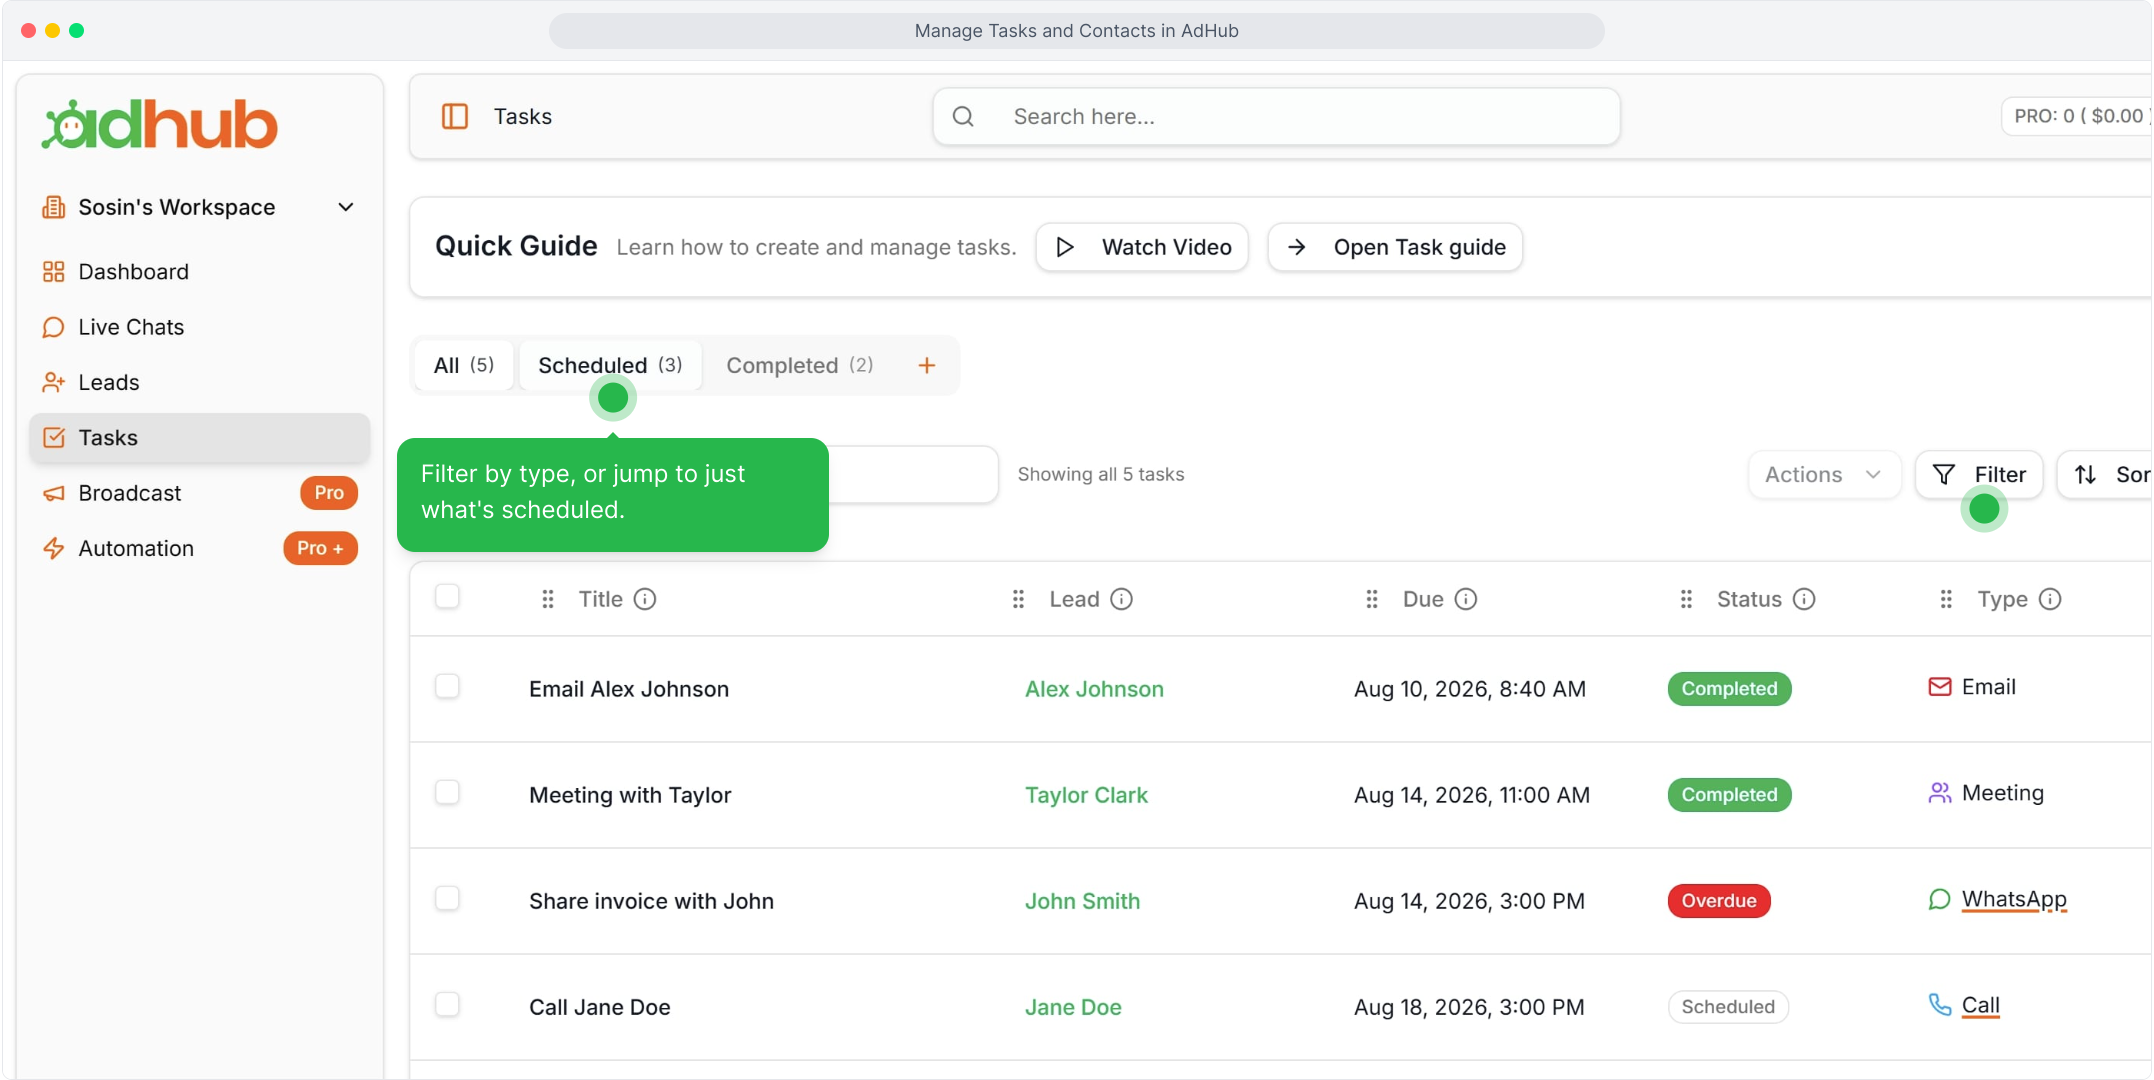
Tip: Overdue tasks are shown in red, so check the Scheduled tab each morning.
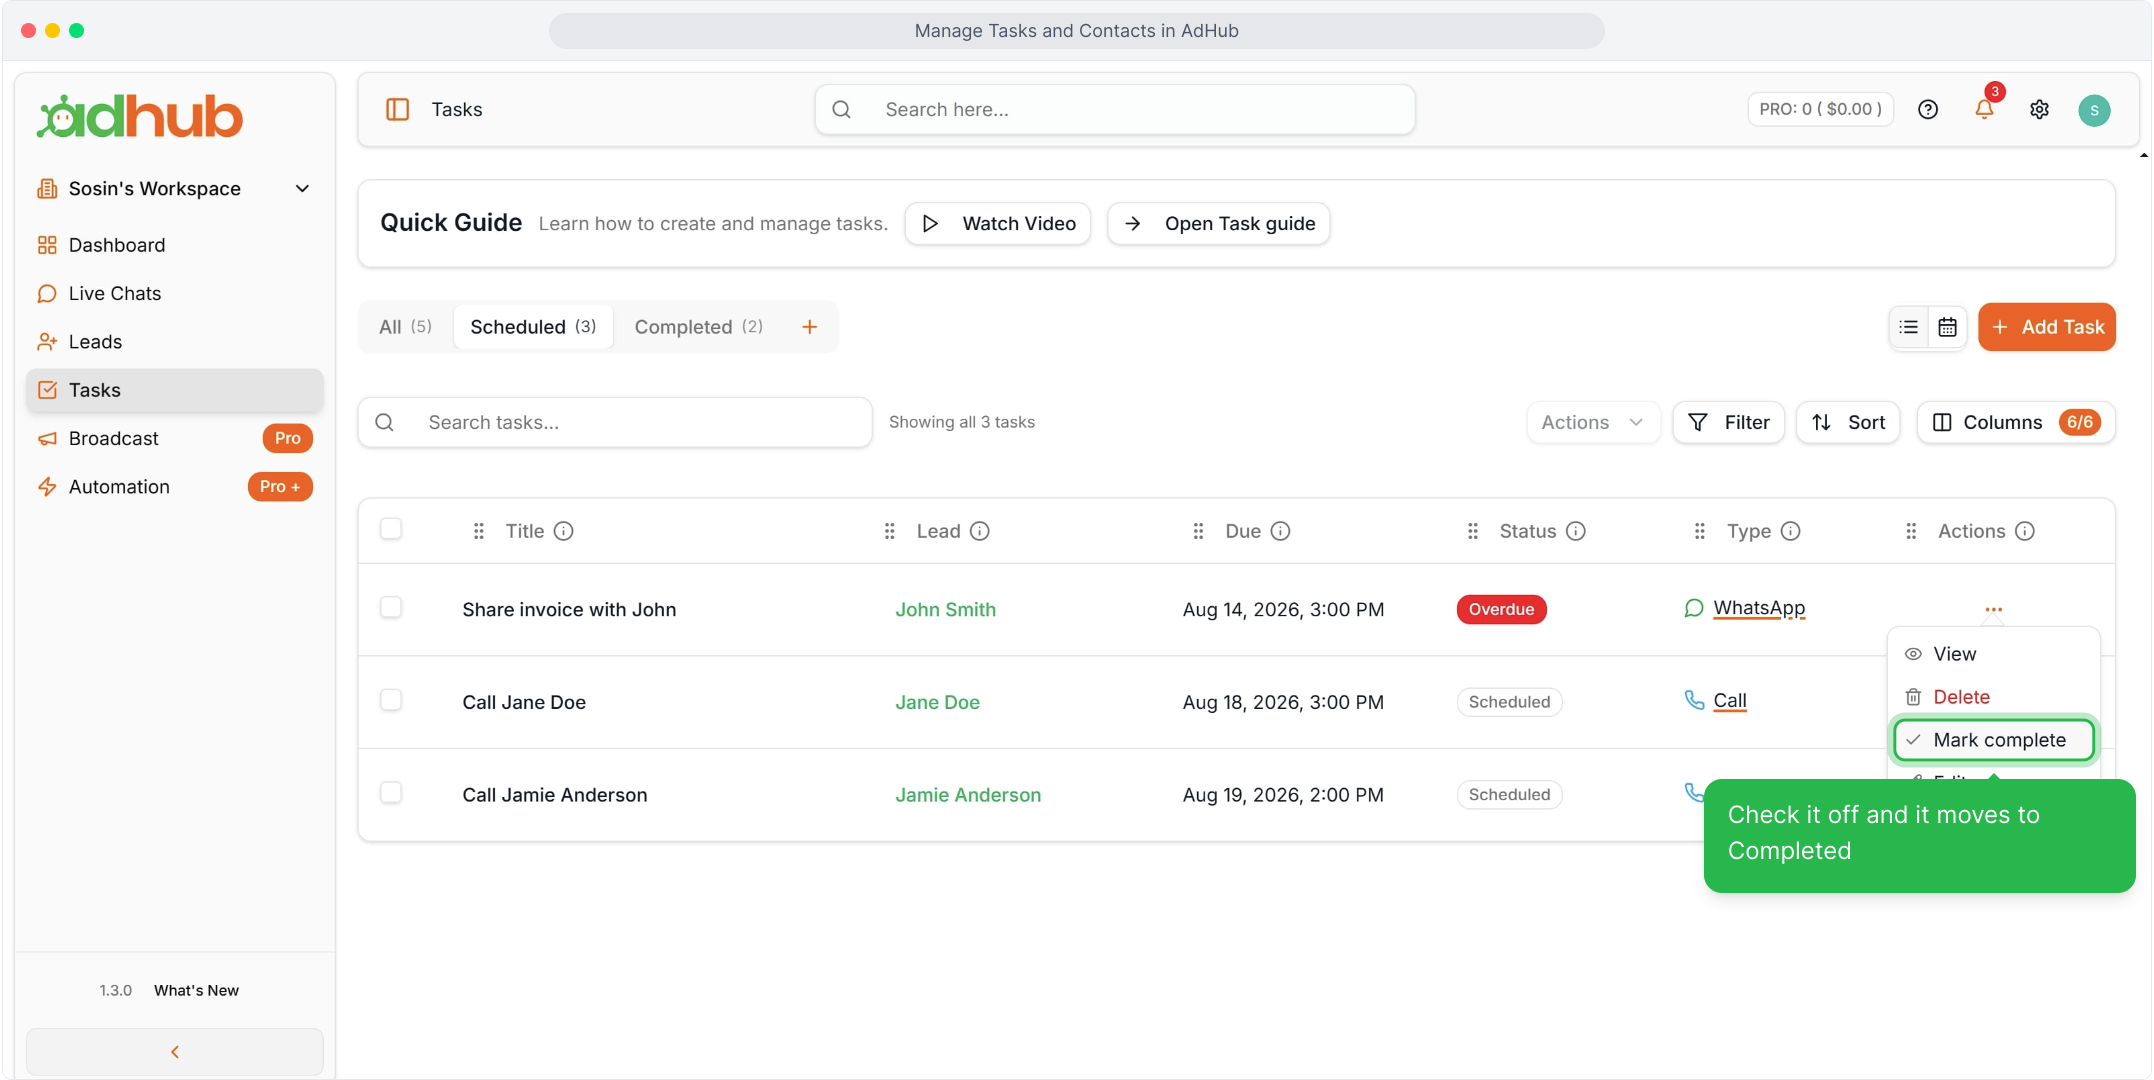
Step 10 — Mark a task complete
Open the task's ⋯ menu and select Mark complete. The task moves to Completed.
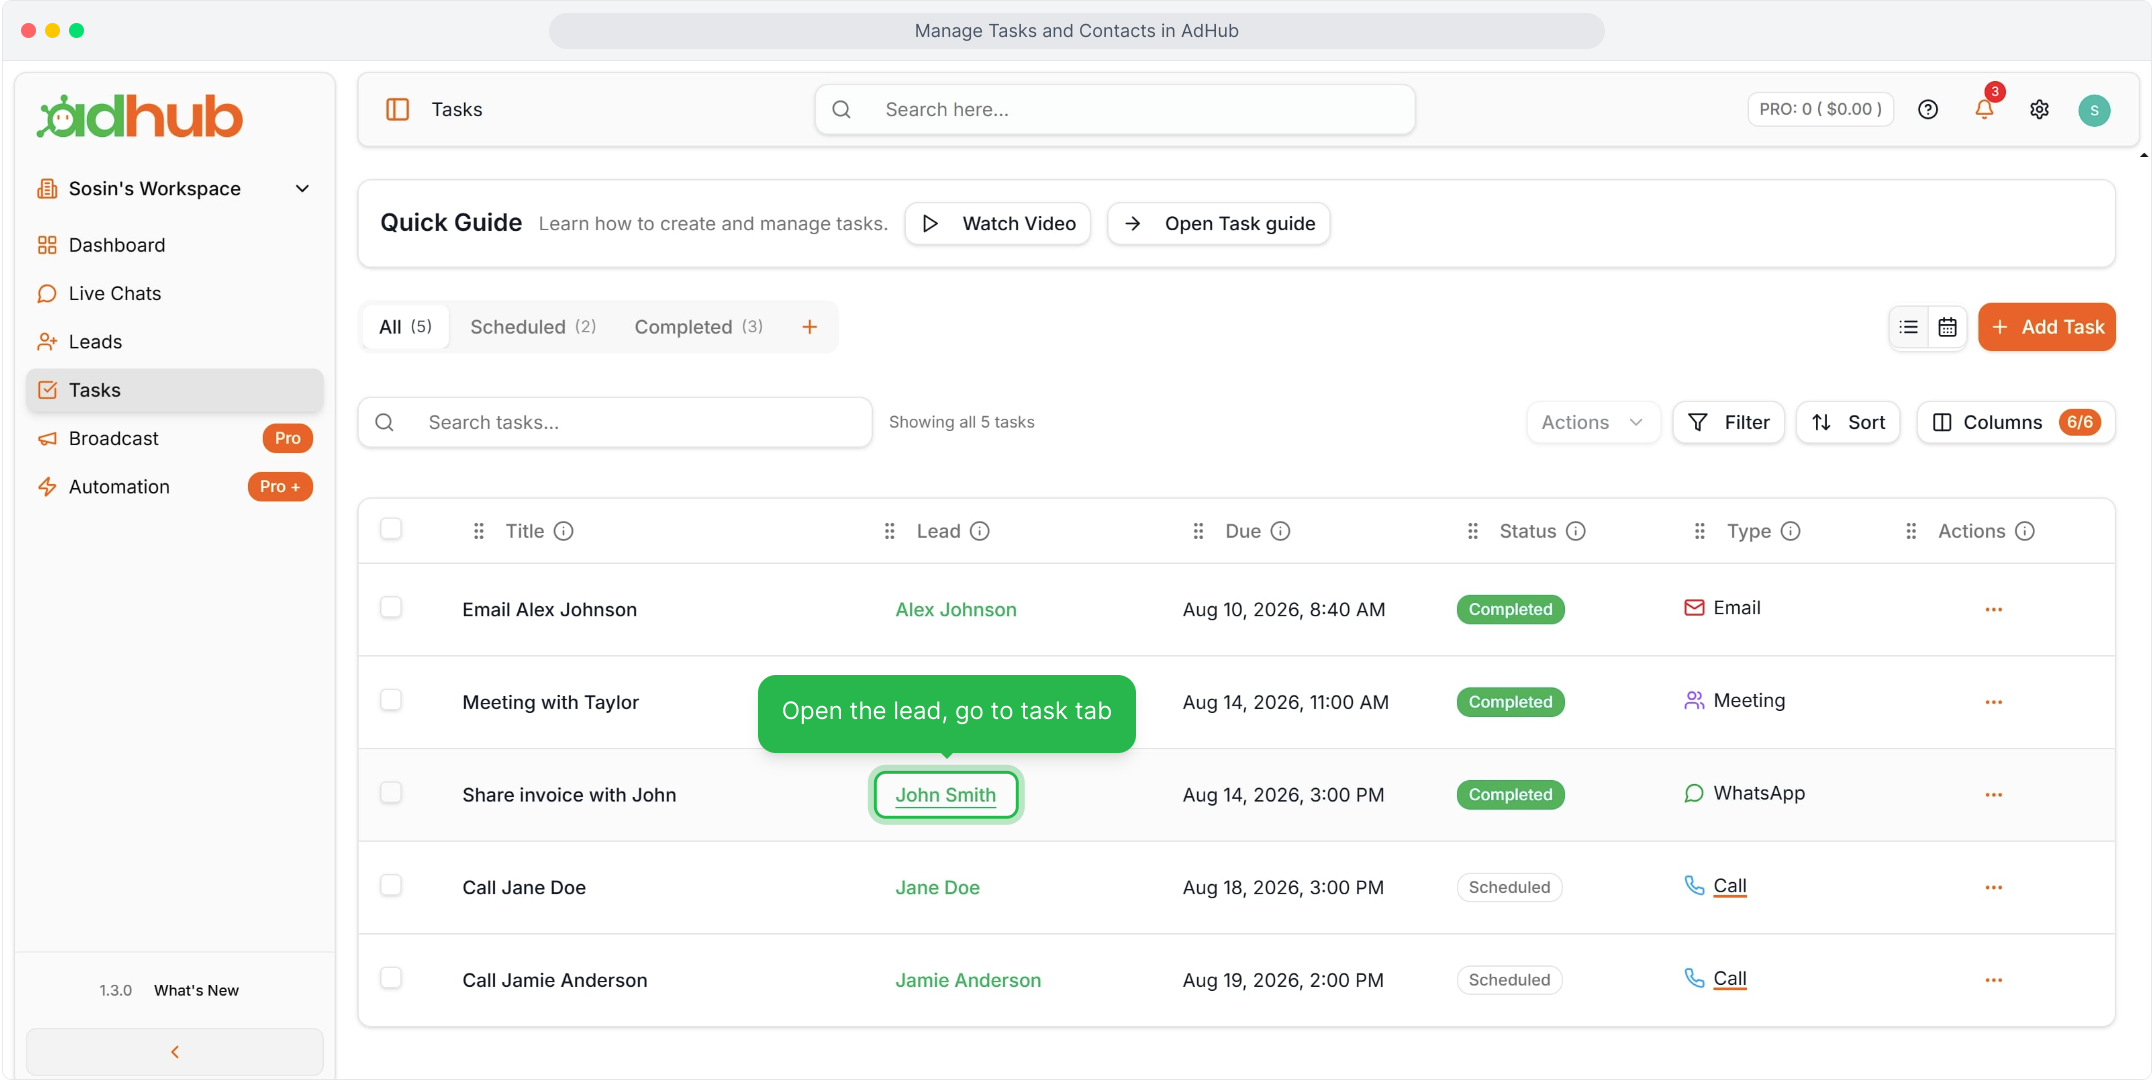
Step 11 — Open the lead
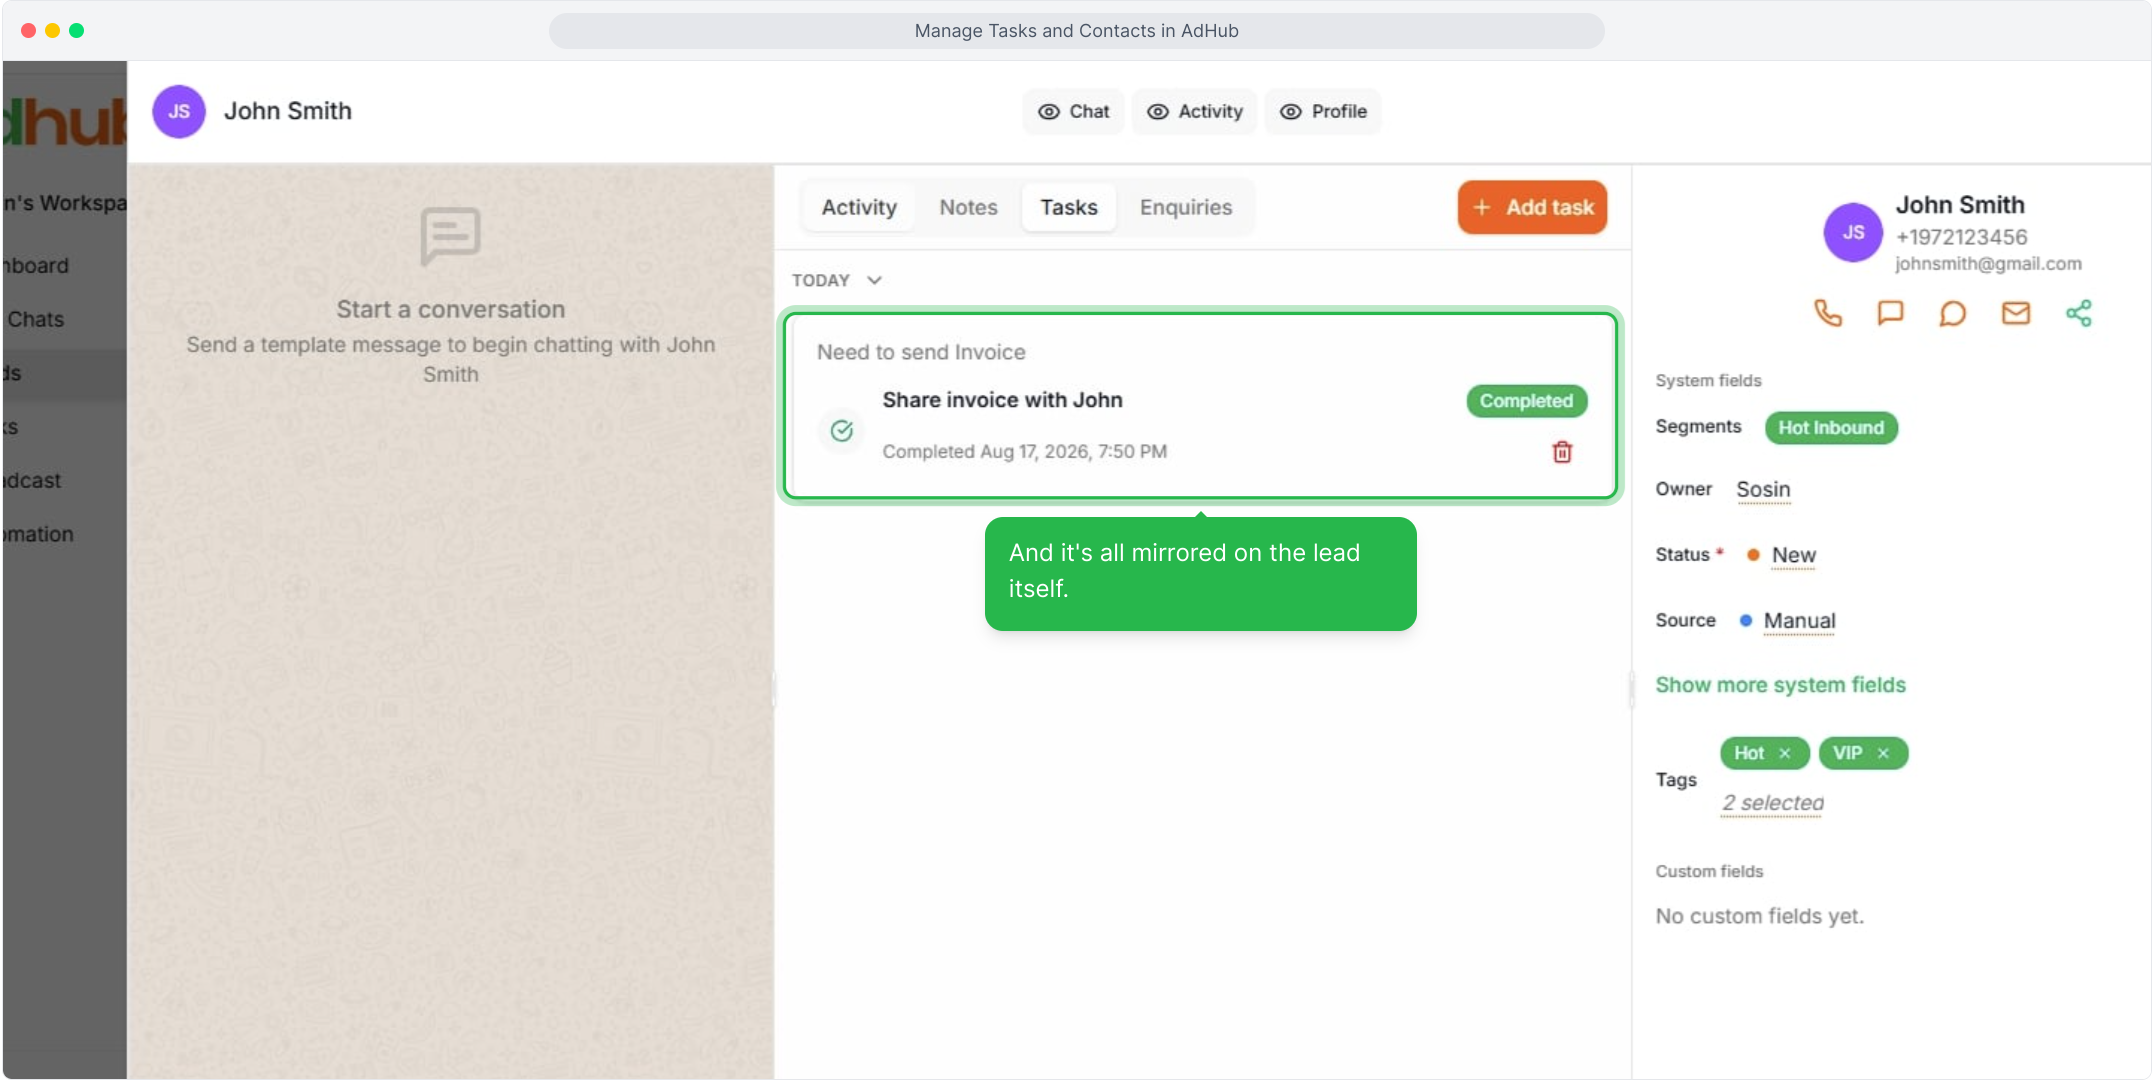
Click the lead's name on a task row, then open the Tasks tab on that lead.
What happens next
- Each task appears on the Tasks page and on the linked lead's Tasks tab.
- Completed tasks move to the Completed tab.
- If a task is missing, check the All tab and any filters on the list.
Related articles
- How to filter and track leads
- How to add a new lead